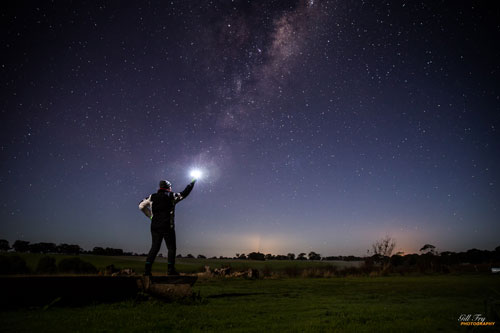
Today I want to take you through the camera settings you need to take those starry nightscapes. Before you head out, get out your camera and make sure you have the settings right. It is much easier to set them in the light than in the dark!
RAW
The first thing to do is make sure your camera is set up to take images in RAW.
The reason for this is because your camera is a tool – it is not like your eye. It does not have the ability to ‘see’ the scene like you do. Have you ever taken a sunset scene and wondered why either your sky was blown out, or your foreground was really dark, when you could see all of the scene perfectly? This is the limitation of the tool.
However, by having images in RAW, you can post process them in programmes such as Lightroom to bring them to what you saw.
Go to Menu and find image quality. I usually put it on ‘RAW and low res jpegs’ so it is easier to find them on my computer.
Turn off noise reduction.
Go to Menu, find Long Exposure noise reduction and turn it OFF.
The reason for this is because when you go to take a 20 second shot, the camera will then take another 20 seconds to reduce noise in camera. However, this is not necessary if you take your photos in RAW as you can reduce noise in your post processing.
Time delay
If you don’t have a cable release or remote shutter trigger, turn your settings on the camera so it has a two second delay before taking the photo. Most cameras have a shortcut button for this. This then allows you to have your hands completely off the camera to minimise camera shake
White Balance
This is a preference thing but it is best to turn it off auto. I would suggest to start with put it on ‘daylight’ That way it will also be ready when you want to take a shot during the day. The setting can be changed in Lightroom later. When you get more experienced, you may want to try other settings, such as fluorescent, or a selected kelvin setting.
The reason why you don’t want it on Auto is because when you want to do star trails or panoramas, the camera will automatically select a white balance and it will be different for every shot which will make it very difficult to stitch.
Manual settings
The next step is to turn your camera to manual, usually represented by a ‘M’ on your dial. You will need to adjust your;
• time in seconds,
• the f stop and
• the ISO setting.
Time - the 500 rule
First thing to note is that every camera and lens combination is different so it is a matter of working out what is right for you. The following will help you to determine that.
Due to the rotation of the earth it appears as though the stars are moving through the sky in long exposures. Star trails can be a desired effect when done for much longer exposures. But in this case we want points of light to represent how we see the stars with our eyes. To achieve points of light you can use a simple rule, it's often called the '500 rule'. This rule is just a guide to assist you determine what time setting you should select. Note – you need to start with the suggested setting and then trial shorter and longer settings to see what works for your camera and lens combination.
500 Rule: 500 divided by the focal length of your lens = the longest exposure before stars start to trail or blur (in seconds)
TABLE 1. Approx seconds before stars blur
| Focal Length of lens (mm) | Full Frame | Nikon Crop | Canon Crop |
| 10 | n/a | 33 | 31 |
| 14 | 36 | 24 | 22 |
| 16 | 31 | 21 | 20 |
| 20 | 25 | 17 | 16 |
| 24 | 21 | 14 | 13 |
| 28 | 18 | 12 | 11 |
| 35 | 14 | 10 | 9 |
| 50 | 10 | 7 | 6 |
| 70 | 7 | 5 | 4 |
Using the table, you can see if you have a cropped sensor camera and a lens that is 16mm, you will need to set your time to about 20 seconds. For a full frame camera you can set it longer.
For example: I have a Canon 6D, which is a full frame camera. For night shots I usually pair it with my Samyang 14mm. The table above would suggest I can go for 36 seconds without getting star trails. However, I have found from experience that I get the best results at 25 seconds.
You just have to trial your camera and lens combination to work out what is right for you.
ISO
The higher the ISO, the greater the noise in the photo. This may not be a problem if you just wish to display pics on the web. But if you want to blow them up for printing, you want to ensure the noise is kept to a minimum.
I usually start at 1600 ISO and then adapt from there depending on the moon or amount of light. For a brighter moon, reduce your ISO. Increasing the ISO increases the number of stars but increases the noise. Play with the ISO up and down. If it looks balanced in the back of the camera it will be about right for processing.
For my Canon 6D, which has exceptional low noise reduction at higher ISO’s, I generally don’t go above ISO 2500.
F Stop
You want to set your aperture (f stop) to the lowest you can for your lens. This opens up the aperture to allow the most light possible into the camera.
If for example you have a Samyang 14mm f2.8 lens, turn the ring on the lens to 2.8.
You have your equipment, you have your settings, you are now ready to shoot the stars!